7 Must-Have Shots When Shooting Wedding Reception Details
If you only had 15 minutes on a wedding day to shoot the reception room for detail shots and a lot of pressure on your hands, make sure you get the necessary ‘safe’ shots first. Watch the video and see what’s on our 7 must have reception detail shot list and tips on how to get them.
BEFORE YOU BEGIN
Get some help clearing out the reception room if and when it’s ready. Enlist the help of the banquet captain or the coordinator to empty out the room as much as possible.

BEFORE YOU BEGIN
Get some help clearing out the reception room if and when it’s ready. Enlist the help of the banquet captain or the coordinator to empty out the room as much as possible.

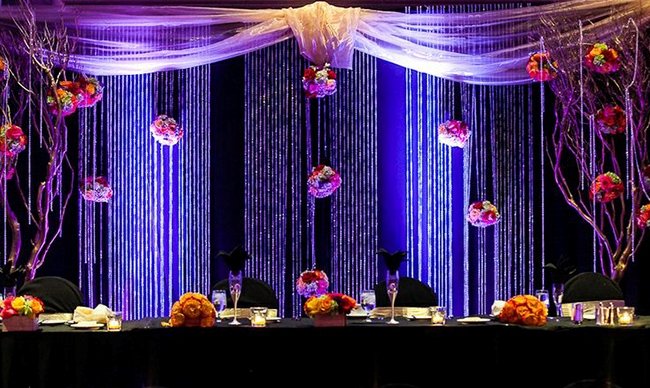
1. The Full Room Shot
You want to try to get this shot as soon as possible to avoid the trickle of guests that are eager to get into the room. Two perspectives we like to do are:

The Symmetrical Shot –
Use the dance floor or the sweetheart table as your center point and get the widest room shot possible

Foreground Focus
Use a foreground element like the cake or a centerpiece and balance the composition out with the rest of the room. To do the full room shots, set the camera on a tripod for maximum sharpness. The ISO is set to the lowest setting, slow down the shutter speed to blur out any movement (people in the room). Use the aperture to compensate for the slow shutter. {Note: slowing down the shutter takes care of people moving in your room, but if people are standing still, they will, of course show up on your image. This is why you want to get people out of the room as much as possible.
2. Place Cards
Get the table with the place cards before the guests do to avoid holes in the design. If you get there a little late, simply find an untouched section, zoom in to fill your frame and shoot it.

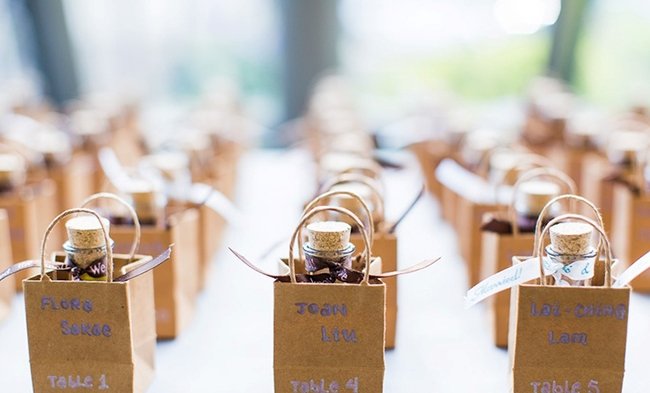
3. Give Aways and Menus
When working on the reception tables themselves, try the approach where you start small and work your way out into the bigger picture. Take a photo of the little giveaways or menus sitting on top of the plates

4. Table Settings
Expand the view to incorporate the entire table setting. Don’t be afraid to remove elements that don’t contribute to the overall aesthetic of the shot, such as salt and pepper shakers and condiment cups.

5. The Full Table
Step back and photograph the entire table. Again, remove all distracting elements when necessary. Find angles that create depth in your composition, like leading lines using center pieces.
6. The Sweetheart Table
Take the same approach as all the other tables by starting small with elements on top of the plates, working your way outwards to the entire table. Make sure to photograph personalized items like a ‘Mr. & Mrs’ sign or etched glasses.

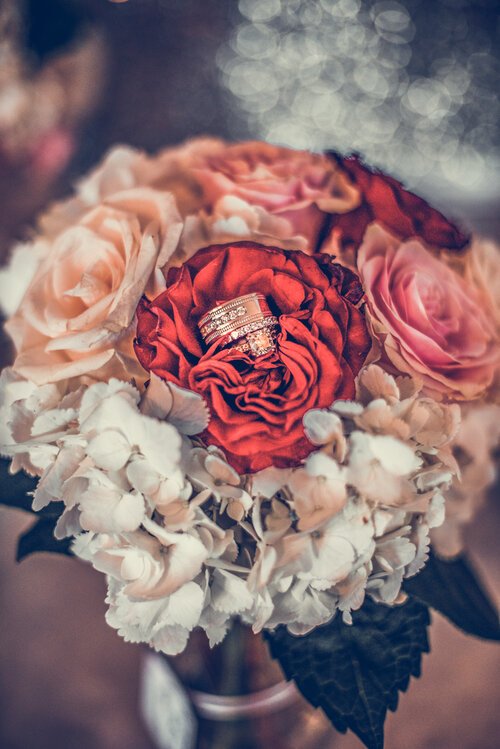
7. The Cake
Because the cake is typically set off to a corner of the room, it’s safest to keep this item for last on the list. If guests start milling into the room, you can still maneuver shooting the cake without bodies obstructing your shot.
For a creative twist on the cake, try to find objects in the room to shoot through to help frame the cake nicely.
Final Note
As a final note, using lenses like the Canon 70-200mm F/2.8L IS II or Canon 85mm f/1.2L II for shooting the majority of the table details is a good idea because of their higher compression and wonderful bokeh.