
14. Natural Light Wedding Photography Tips In Harsh Sunlight
During the daylight hours, outdoor wedding photography can pose a number of lighting challenges for those shooting with natural light, especially when the site offers only harsh sunlight. Here are some tips for shooting natural light wedding images in harsh sunlight.
RAW Format – You may need to fix some lighting issues in post, so be sure to set your camera to capture RAW images (instead of jpegs) to maximize your editing capabilities.

Dynamic Range – When you’re shooting in harsh sunlight, you likely won’t be able to use the LCD screen on your camera to gauge your exposure and ensure you’re getting the maximum dynamic range possible on your camera. To combat this, enable the highlight alert and check your histogram. That way, you’ll know whether or not you’re retaining your highlights and shadows.
Read our Ultimate Guide to Using Your Camera’s Histogram article for more information.

Light Direction – Light direction is important for creating dimension in your subjects’ faces. Midday sunlight, however, shines almost directly top down, leaving very little light direction. While you would normally seek shade under these conditions, sometimes it’s not an option. Your best course of action at this point is to place your subjects’ backs to the light and use a flash or reflector. If that is not an option, try to choose a location with a bright surface nearby (ground, building walls, etc.) to kick more light back up on to your subjects.

LCD Brightness – For more consistency, set your LCD brightness to a constant setting rather than leaving it on auto.
Strobes – If at all possible, consider using strobes. Check out this article to see what you can do with a strobe to overpower bright sunlight.
Click here for Second Shooting the Couple’s Session

15. Tips For Photographing The Ceremony
A typical wedding ceremony lasts only 20-30 minutes, which limits the time you have to creatively capture all of the important moments and people as the ceremony unfolds. Here are some tips for making sure you don’t miss a moment.
Details – You can read more about how to photograph wedding and reception details here.
Nuances – Cultural nuances and the couple’s unique preference will impact the traditions observed (or avoided) during the wedding ceremony, so it’s important to study up ahead of time. Discuss the ceremony timeline and/or plans with the bride an groom well in advance so that you don’t miss an important moment.

Team movement – Wedding photography teams vary in size, but they generally range from an individual photographer to three shooters depending on the guest count. The more shooters you have on your team, the more coordinated the movement must be. During the ceremony, all shooters should rotate through three basic positions: Center aisle, outside the left side of the seating area, and outside the right side of the seating area (see the image below).
Team lens synergy – In addition to watching other shooters’ angles, it is important to be aware of the focal length they’re using to capture the action. If the lead is shooting down the aisle on a wide-angle lens, the second shooter should be shooting the ceremony with a tighter focal length, such as a 70-200mm lens.
Read our full article on How to Crush the Ceremony for more information.

16. Learn Night Time Couples Photography
It’s not uncommon to steal the bride and groom from the wedding reception for a quick nighttime session.
They usually don’t want to be away from their friends and family long, so it’s important to make your time with the bride and groom worth it.
Here are some tips for capturing nighttime couple’s portraits.
Scouting – Because your time with the couple is limited, it is imperative that you scout for the location before pulling the bride and groom away of the reception. Also, it helps to have a concept for your photo in mind when choosing a location. If you’re looking to do a whip pan, for example (pictured above), you’ll need to find a spot with adequate background lights.

Lighting – Lighting will vary, depending on the type of shot you want to capture, but some common lighting techniques for nighttime couples’ photography include the following:
Backlighting
Backlighting plus a front light
Whip pan
Shutter drag
Posing – Nighttime couples photographs usually lean more toward the romantic side, so you’ll probably go with some variation of the closed pose with or without a kiss. It helps to know all our foundation posing framework, however, so that you can direct the couple with confidence in any given situation.

Creativity – Put in the work for nighttime portraits long before you actually capture the photo. Practice your techniques and seek inspiration from others if necessary, and then bring your creative A-game to these portraits as they can make a profound impact on your portfolio and help draw future clients.
Watch this video for 5 Night-Time Photography Tips in 5 Minutes.

17. Wedding Reception Tips
Wedding receptions are loaded with fast-paced activities that require photographers to be keenly aware of the timeline. Here are some tips for effectively covering a wedding reception.
Interesting angles – Use medium to wide angles to show the environment as well as tight or close-up angles to highlight the emotions shown in the subjects’ expressions. Also, look for objects to shoot through to add a creative element to the image, and be mindful of negative space. Sometimes, the objects you use to create a shoot through can also be used to obscure unwanted elements in the background.
Storytelling – Involve guests and other elements to add to the story when photographing various elements of the wedding reception, such as the grand entrance, first dances, speeches, and other activities like cake cutting and dancing.

Get even more information in our article on How To Crush The Reception | Wedding Photography.

18. Wedding Sparkler Exit Tips
A wedding photography staple, sparkler exits are both exciting and beautiful, not to mention stressful. There are plenty of things to keep in mind while coordinating and capturing these exits.
Long sparklers – Make sure you’re using long-lasting sparklers (typically 36″) so that you’ll have enough time to get everyone in position and get the shot.
Safety – Your first priority is the safety of the property and guests. Keep a bucket of water on hand to use for putting the sparklers out after the exit. In addition, warn the guests who are holding the sparklers to keep their distance from the couple as well as one another.
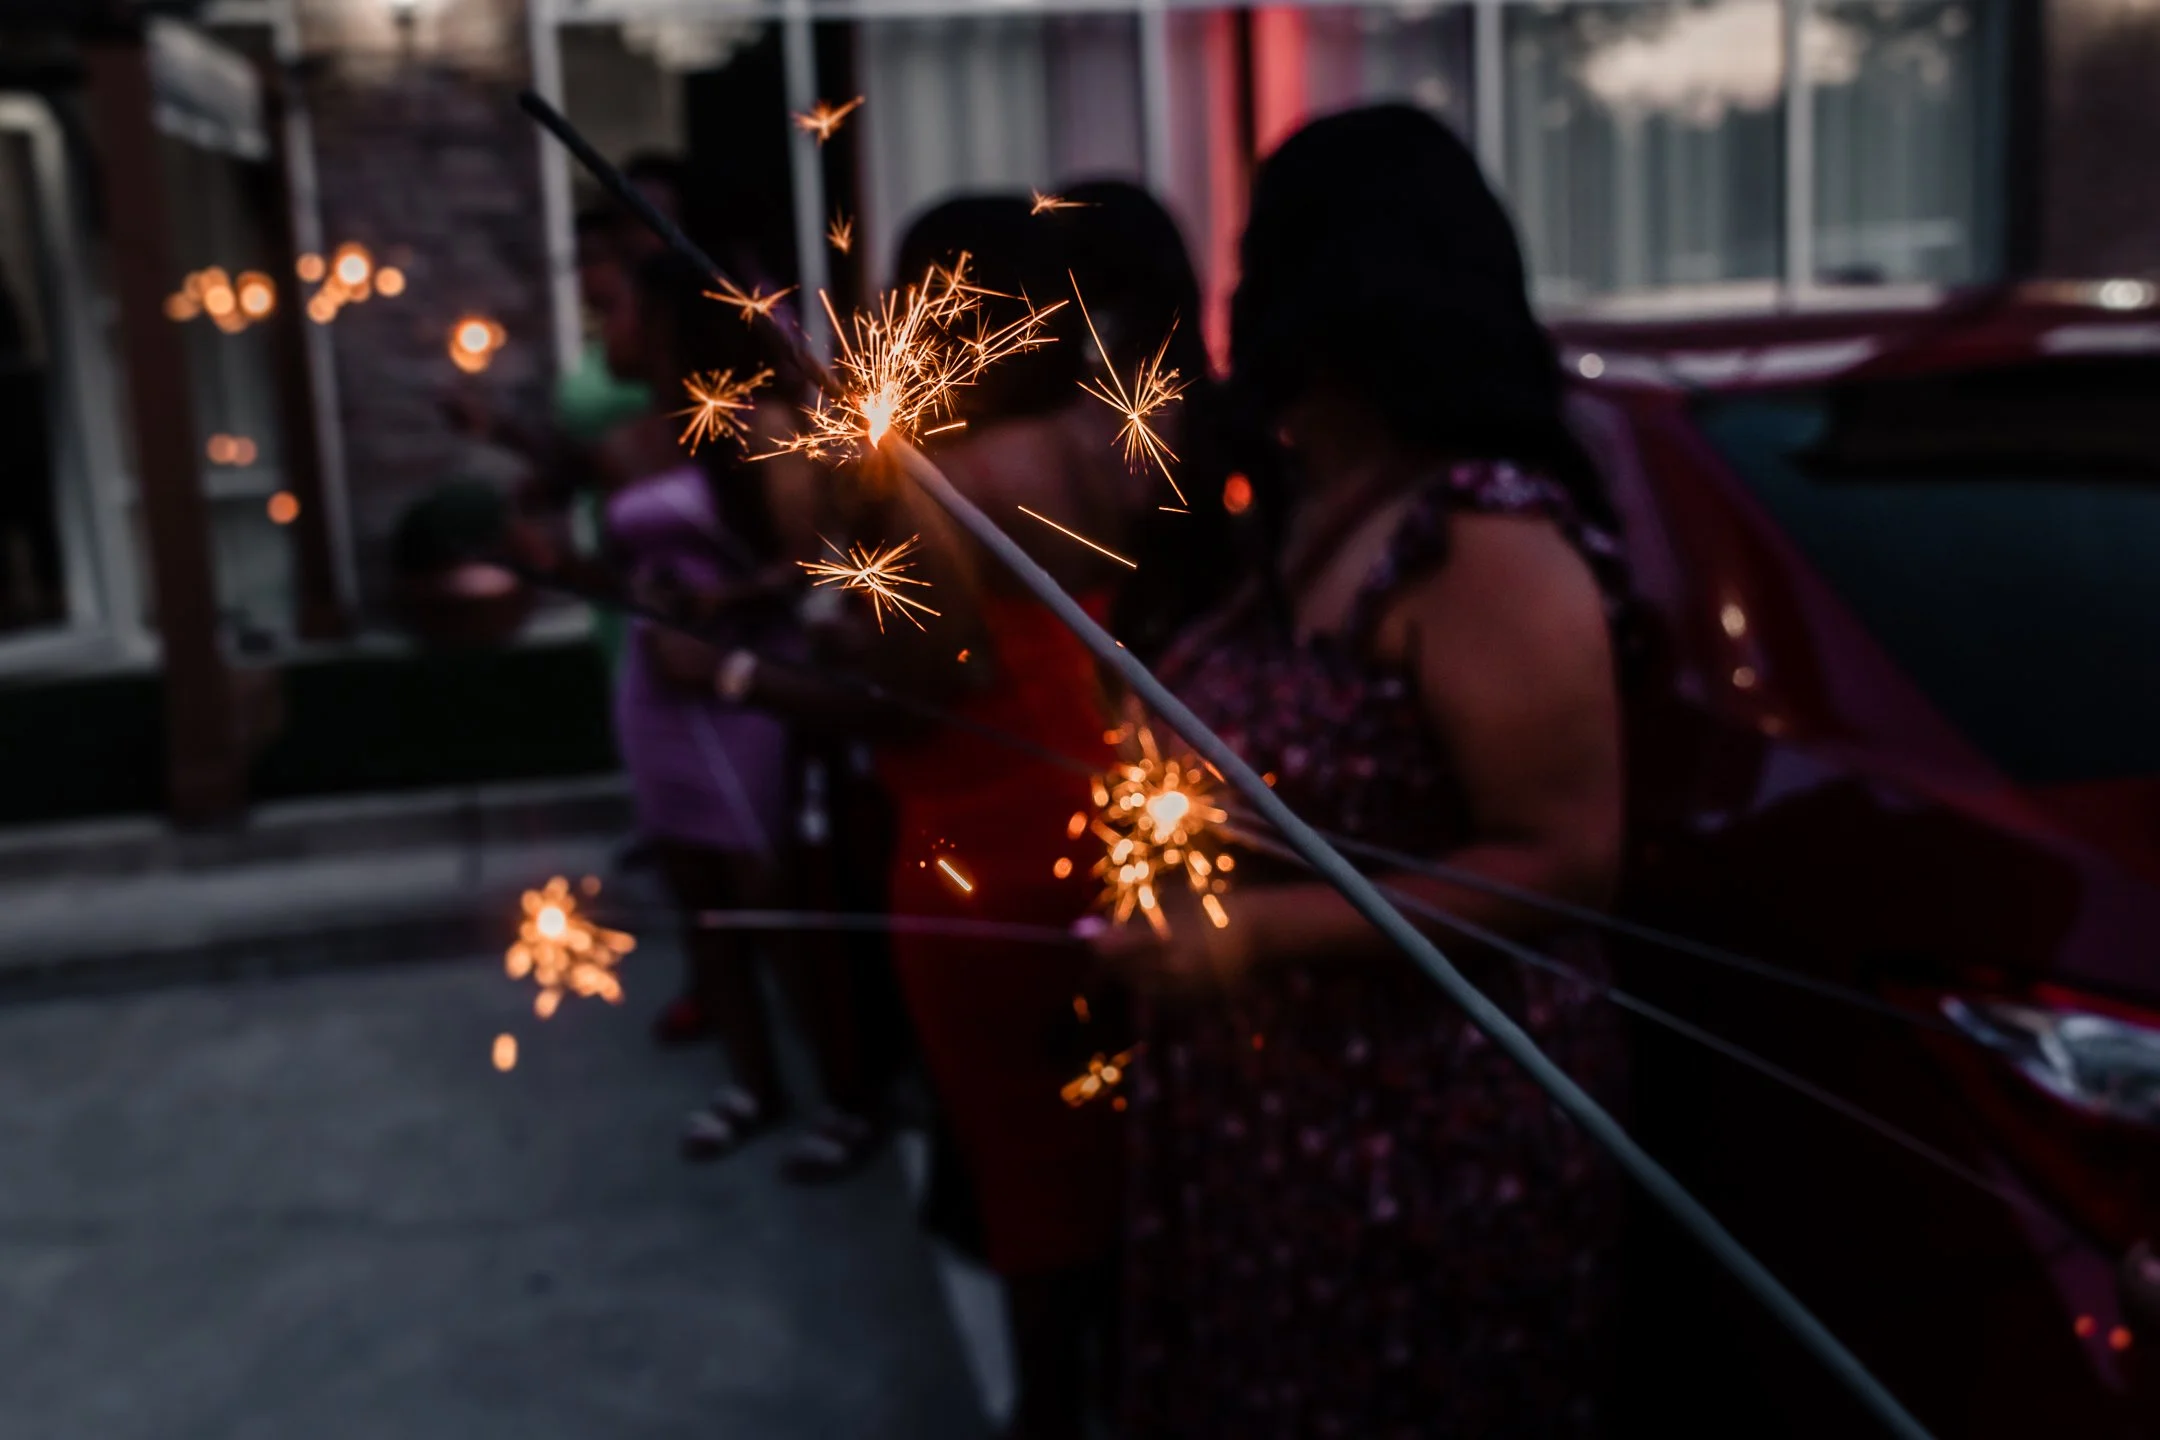
Exposure – Lighting is usually minimal during a sparkler exit, so adjust your camera settings to include high ISO and wide apertures. If the couple is moving, you’ll need a higher shutter speed, which will likely push your ISO up to 3200 and your aperture closer to wide open.
Lighting – You have several options to choose from when it comes to lighting a sparkler exit. The benefits of using a constant light include instantly seeing your actual exposure in the viewfinder as well as never missing a moment because the flash didn’t fire. Using flashes, however, will help freeze the action and they work perfectly for pin lighting (with shoots or grids) and backlighting the couple. Sticking with natural light is more a stylistic choice and is usually only recommended if you also have a second shooter who is using flash.
Read our article on How to Take Sparkler Pictures for more information.