
7. Tips For Wedding Photojournalism
The goal in photojournalism is to limit interference with events as they unfold and to capture the actual emotion and atmosphere of the scene.
The key ingredient in photojournalism is the storytelling, which sets it apart from otherwise capturing candid, unposed photos. Here are some tips for capturing better photojournalistic wedding images.

You can read more about wedding photojournalism in this article.
Composition – Frame your subjects in an interesting way (even something as simple as using the rule of thirds is often more interesting than always placing your subjects dead center in the photo) and use light and focus to draw attention to the intended subject whenever possible. If possible, include relevant subjects in the foreground that will help tell the story.

Lens Choice – A wide angle 35mm or 24mm prime lens will allow you to get journalistic images and environmental portraits. To create a nice story-telling format (tight, medium, wide), start close to the action and then work backwards until you’re able to capture the scene as a whole. You should also keep a 70-200mm zoom lens (or something similar) handy to capture scenes from a distance when necessary to avoid disrupting the action as it unfolds (such as an intimate moment during the first look, for example).

Anticipation – The best photojournalists seem to always be in the right place at the right time, ready to capture the shot. You can do this by listening to your subjects’ conversations (not in a creepy way) so that you can anticipate reactions and have your camera ready to capture them. For example, if it seems like a conversation is going to lead to a smile or a laugh, be ready, as most people smile right after they finish a sentence.

8. Learn Symmetrical Group Posing
Symmetrical posing is quick, relatively simple, effective for safely capturing group portraits, and works well with both small groups of six or fewer and large groups of 20 or more. Here’s a step-by-step breakdown for symmetrical group posing.
Symmetrical posing is quick, relatively simple, effective for safely capturing group portraits, and works well with both small groups of six or fewer and large groups of 20 or more. Here’s a step-by-step breakdown for symmetrical group posing.
Set your exposure settings and test your flashes before bringing in subjects
Place the bride & groom in the center (v-up pose)
Balance the number of subjects on each side
Point the chest of the outer subjects toward the center
Allow a slight overlap of the subjects (not more than 20-30%)
Create touchpoints (such as placing one subject’s hand on another subject’s shoulder)
Watch for height/balance across the group
Adjust positions/re-balance
Direct for look, shoot
Change look/repeat
You can learn more about capturing group portraits in our article on How to Master Group Portraits.

9. Tips For Editorial Wedding Party Posing
When it comes to the editorial images that you will want to capture, there are four primary shots that you will create in the editorial style
Here are some tips for editorial posing.
Four Primary Editorial Shots – When it comes to the editorial images that you will want to capture, there are four primary shots that you will create in the editorial style:
Wedding party
Bride’s immediate family
Groom’s immediate family
Both immediate sides of the family together
Lighting and Objects – Set the exposure for your scene (bright and airy vs. dramatic, etc.) and place the posing objects (mainly chairs) to establish the scene. It’s okay if the chairs are not ideal as they’ll be covered by the subjects.
Posing – Start with your couple and then work your way out with VIPs and wedding party members. Place everyone in approximate groupings and then analyze each side for balance. Refine the poses and move your subjects around as needed to get the perfect shot.

10. How To Capture The First Look
Not every couple will agree to participating in a first look before the ceremony, but there are many benefits to doing first looks.
For one, they provide more opportunities to photograph the couple before they’re swept up in the whirlwind of the wedding day.
more information, read our article on How to Crush the Bride and Groom’s First Look.

11. Photographing Wedding Ceremony and Wedding Reception Details
While images of details/decor may not seem as important as couples’ portraits, photographing them serves many purposes, including capturing memories for the bride and groom who rarely have time to appreciate them during the wedding ceremony and reception.
These images can also be used to build relationships with vendors and bring more exposure to your brand. The Best Angles – Do your due diligence and walk through the site to find the best angles before you begin snapping pictures. The resulting images can be dramatically different from the same scene.

Focal Length Vs. the Timeline – Often times, when you’re photographing wedding ceremony or reception site details, the scene will be busy with vendors putting the final touches for decor until the last minute. In order to stick to the timeline, you can start by photographing all of your tight shots (close-ups of flowers on or in front of the altar, programs, etc.) and work your way toward the wider shot of the entire scene. You might consult with the coordinator or planner to help clear people from the site so that you can get a wide shot before the guests start to filter in.


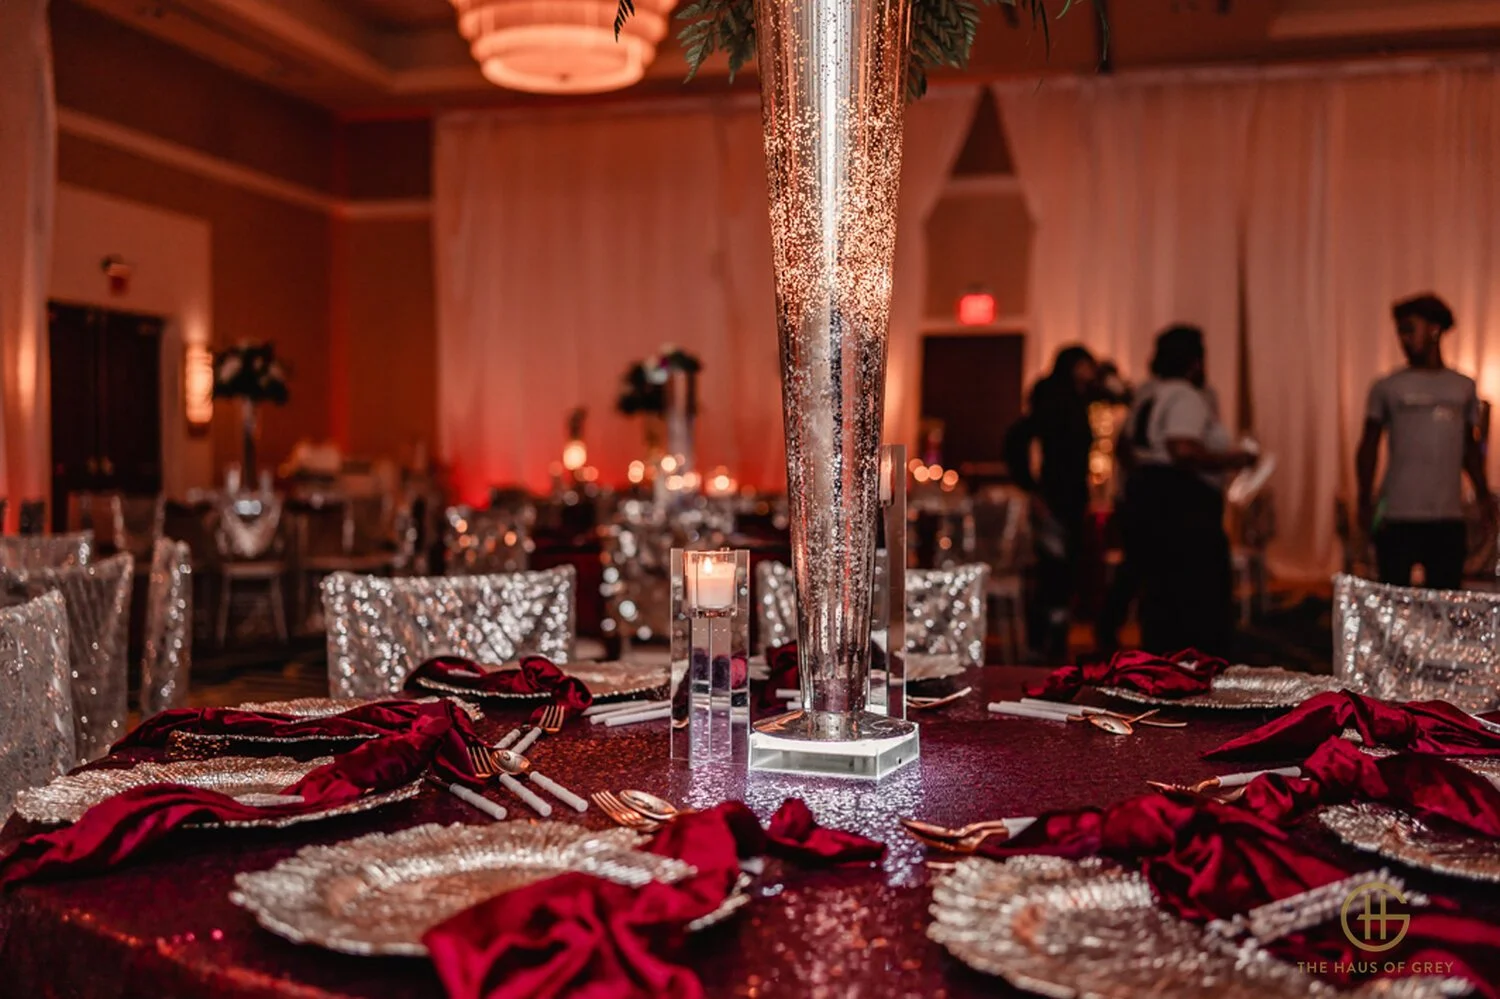
Vendor Relationships – Be sure to properly tag the other vendors from the wedding in your social media and blog posts. It will not only help build relationships with vendors but also encourage them to share your images and increase your online presence. Also, send high-resolution images to the venues/vendors so that they can share the photos in their own original posts.
To learn more about this topic, read our article on How to Crush Wedding Ceremony & Reception Site Details.

12. Tips For Flash Photography For Small Rooms
When shooting in a small room, presumably one that is dimly lit, your best means of adding light will be via bounced on-camera flash.
Gear – Your options for on-camera flashes will vary depending on your camera body and budget, but a basic 50-60 watt-second pocket strobe like the Canon Speedlite 600EX II-RT or Yongnuo’s budget-friendly version of the flash should do the trick. We also recommend adding a modifier to soften and help spread the light, such as a “Fong Dong” or MagMod’s MagSphere.
Surfaces – While using a bounce flash requires a minimal setup time of under a minute, it also requires a neutral-color ceiling/wall. If the ceiling/wall does not have a neutral color, you may need to use a reflector or consider using direct flash (although this less likely in a small room).

Rim lighting – Rim lighting can be added with additional off-camera flashes if using the on-camera bounce flash as a master, but setting up the rim lights and stands will add a minute or two to the overall setup.
Limited movement – Because your light source is on-camera, your range of movement is limited. If you back away from your subjects, for example, then less light will reach them. At the same time, the subjects closest to the light source will be brighter than those in the background. Get your flash settings dialed in at an established distance and then keep it consistent thereafter.

13. Tips For Flash Photography For Large Rooms
Sometimes, shooting in a large dimly lit room can feel a lot like shooting outdoors at night. You’ll have to modify your setup based on the color and availability of the ceiling and walls, but here are some basic tips for using flash in large rooms
.Gear – You’re likely going to use an on-camera bounce flash and modifier (like those mentioned in the section above) as well as off-camera flashes for rim lights, especially if the ceiling/walls are not a neutral color or are otherwise vaulted or unusable.

Setup – Place two to four off-camera flashes in the corners of the room, each aimed to the center of the room and zoomed all the way out. The flashes should be on inconspicuous stands and kept out of the guests’ way. We recommend placing them next to speakers near the DJ booth if possible, or partially hiding them with curtains (again, whenever possible).

Surfaces – In a large room, the ceiling and walls are less likely going to help bounce light, which means you may need to use a reflector (such as an Fstoppers Flash Disc or a basic 5-in-1, etc.). The 5-in-1 will require help from an assistant. When an assistant is not available, another option involves placing an off-camera flash with an umbrella (or Magsphere) on a light stand and carrying that around.